Recipe: Spicy Chimichurri Smoked Chicken Thigh

“Food is ever-changing and ever moving forward and getting more and more complex.” - Alex Guarnaschelli

Chimichurri is something that really elevates any dish, and adds a little sass to your protein. It pairs well with steaks, seafood, and for today’s recipe - chicken thighs. Chicken thighs are exceptionally juicy, and when paired with the right seasonings and flavors it’s a delight to enjoy.

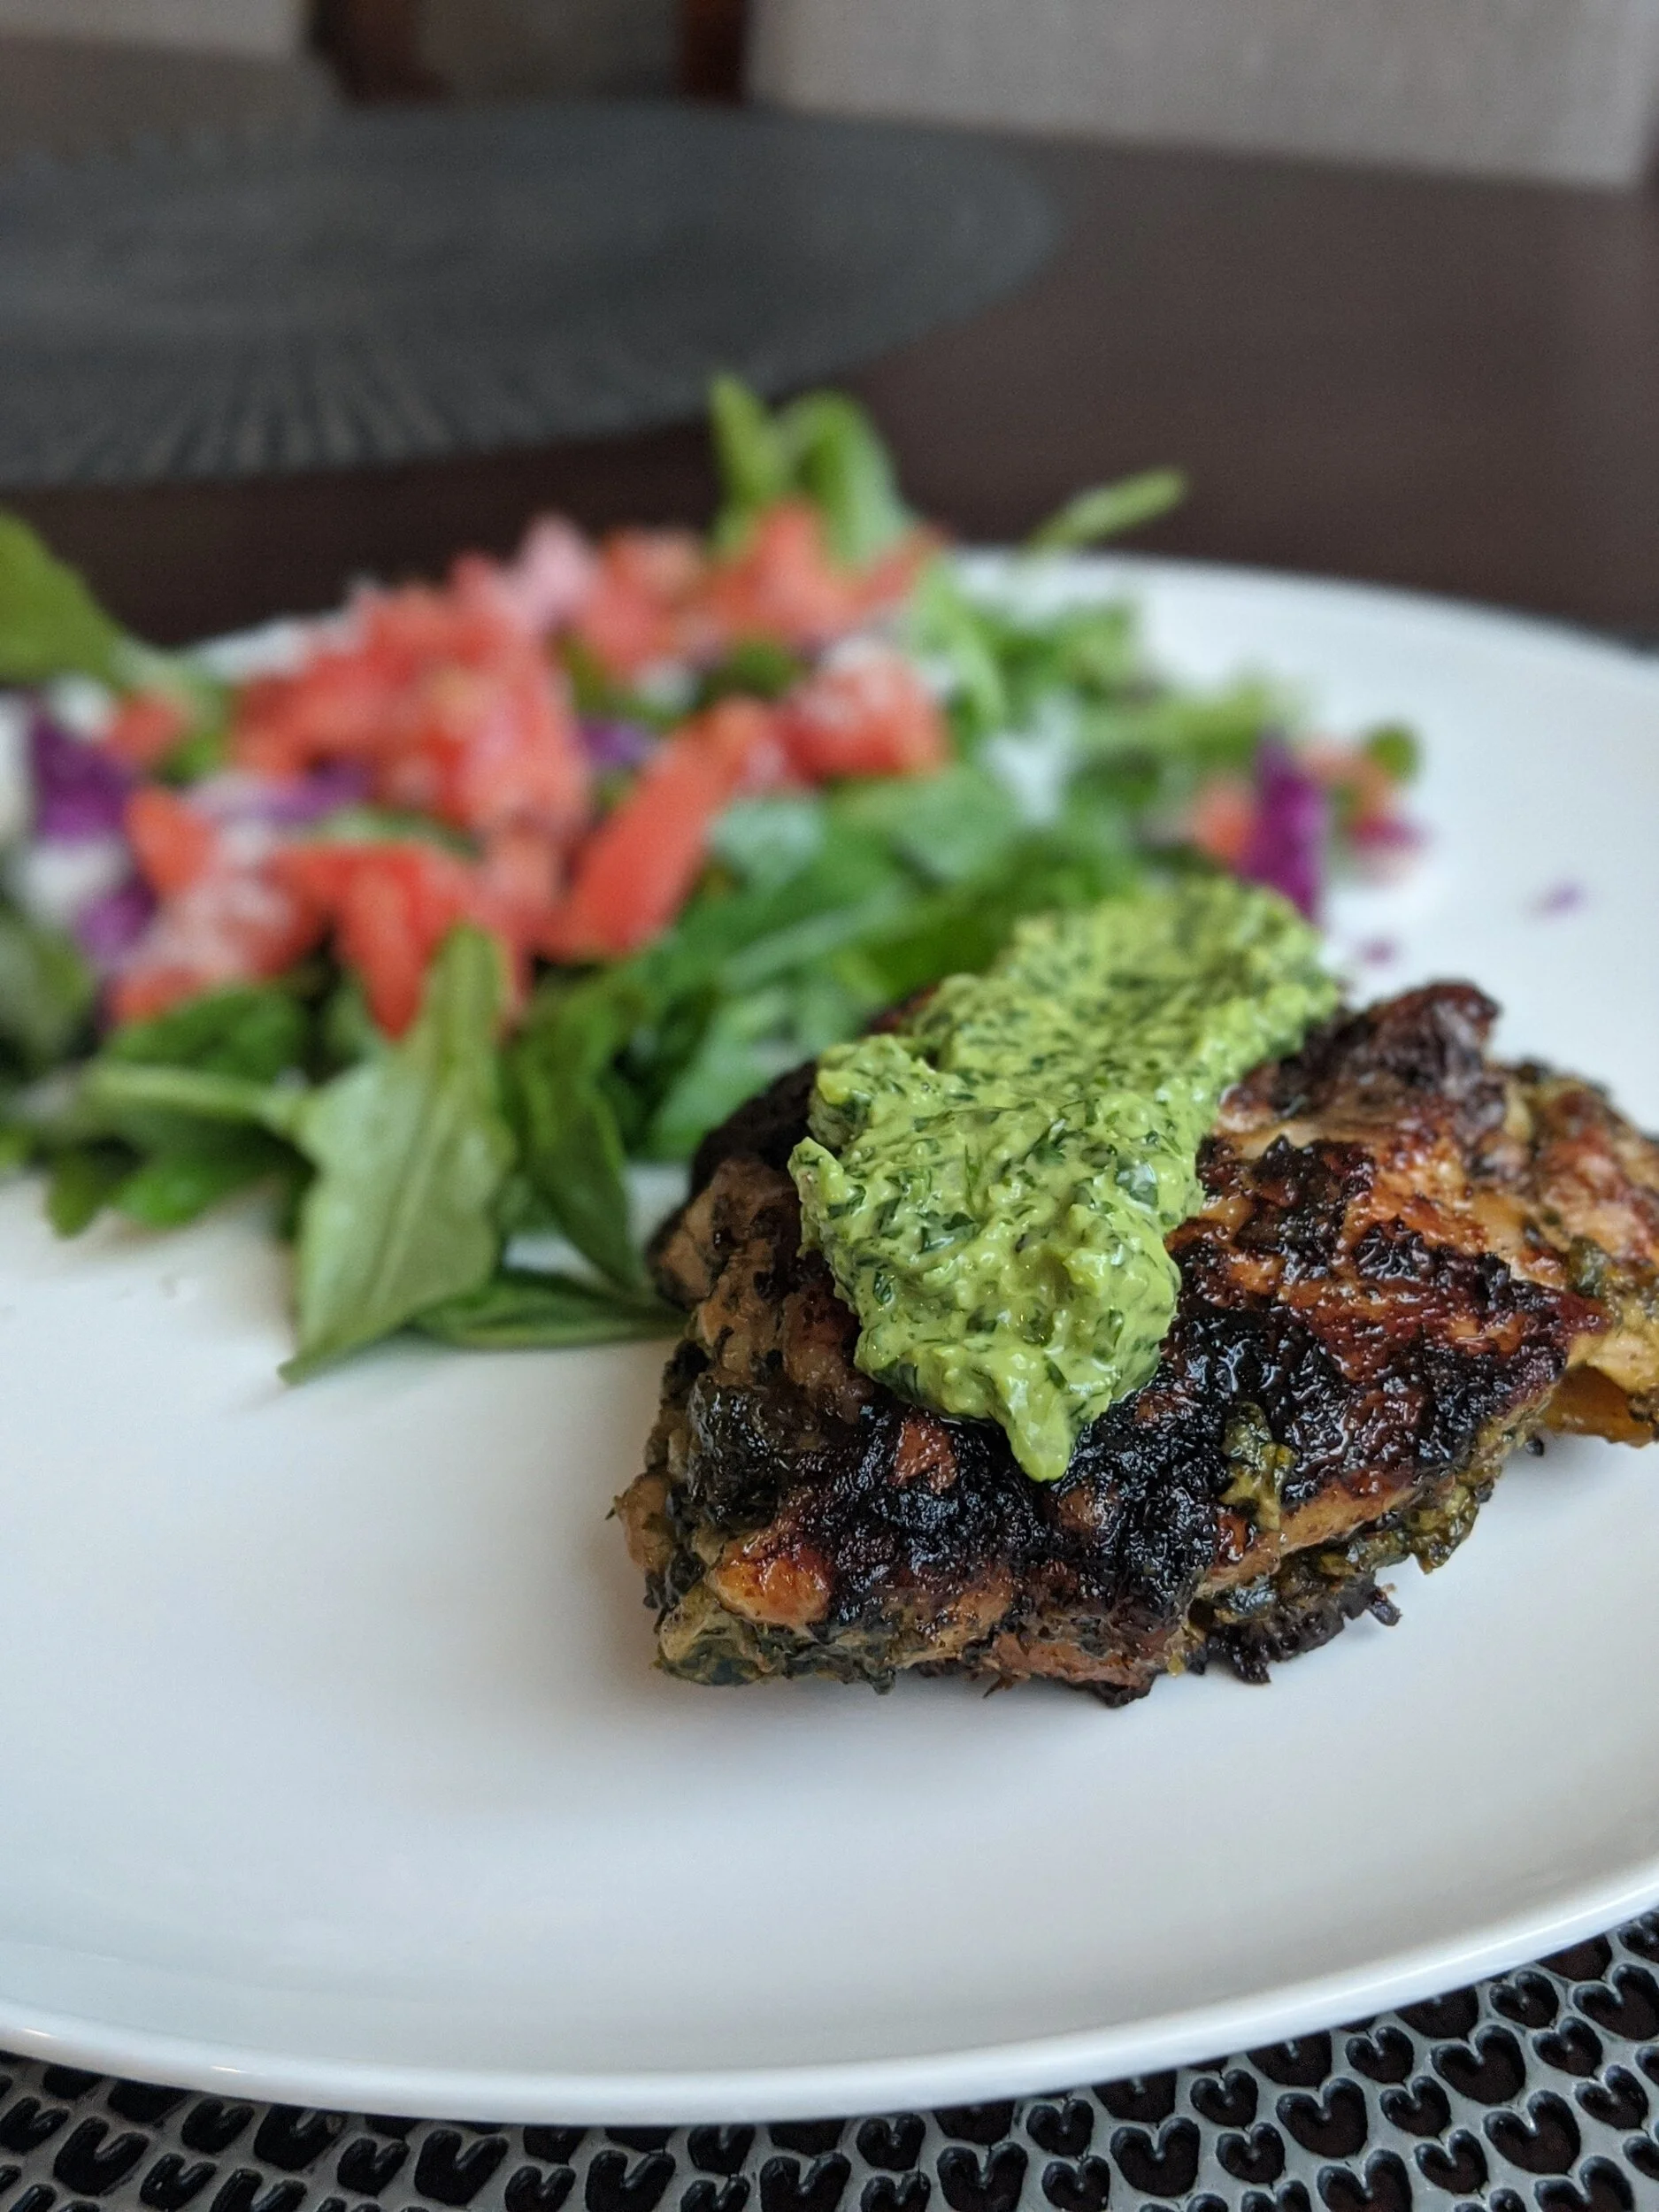
Today’s recipe is a Spicy Chimichurri Chicken Thigh that is packed with flavor and a lot of spice, and paired with a lovely arugula salad.


20200907_0918260.49264749405769537 (1).png

What You’ll Need:

Chimichurri:

  • 6 garlic cloves, peeled

  • ½ teaspoon sea salt

  • 1 cup cilantro leaves and stems

  • 1 jalapeno

  • ½ teaspoon cracked black pepper

  • 1 tablespoon apple cider vinegar

  • ½ cup extra-virgin olive oil

Chicken:

  • 1 bone-in chicken thigh

  • ½ teaspoon cracked black pepper

  • ½ teaspoon lemon pepper seasoning

  • ½ teaspoon red pepper flakes

processed_00000IMG_00000_BURST20200906175010579_COVER.jpg

Directions

Chimichurri:

STEP 1: Using a food processor combine garlic, cilantro, jalapeno, cracked black pepper, sea salt, apple cider vinegar, and olive oil.

STEP 2: Blend all of the herbs and seasonings until nice and smooth - you’ll know its blending perfectly as it will immediately become very fragrant.

STEP 3: Transfer to a bowl, cover, and refrigerate for at least 2 hours.

Chicken:

STEP 1: Rinse chicken and pat it dry.

STEP 2: Rub dry seasonings all over the chicken: cracked black pepper, red pepper flakes, and lemon pepper seasoning, as well as the chimichurri sauce. Let the chicken set for at least 1 hour.

STEP 3: Smoke chicken thigh at 225 degrees fahrenheit for 3 to 4 hours, and once the internal temperature has reached 165 degrees fahrenheit immediately remove from the cooking vessel.

Pro Tip: You’ll know the chicken thigh is cooked to perfection when the juices run clear.

STEP 4: Serve with chimichurri sauce on top, and enjoy.

processed_00100dPORTRAIT_00100_BURST20200906174816307_COVER.jpg

XO, Analise

Recipe: Lobster Mac + Cheese

“I think you've got to keep it simple, keep it fresh.” - Emeril Lagasse

The ultimate comfort food is macaroni and cheese, but throw in some lobster, and you’ve totally elevated the dish to another level. There’s something decadent and magical about lobster, and it’s truly such a treat to enjoy.

The combination of gruyere and white cheddar with old bay seasoning in this dish is absolutely lovely - a perfect balance of silky texture and herbs and spices truly makes this meal a joy to eat.

Read more about how you can create this dish at home.


20200913_1820270.6582526927626746.png

What You’ll Need:

  • sea salt

  • olive oil

  • 1 pound elbow macaroni

  • 1 quart whole milk

  • 8 tablespoons (1 stick) unsalted butter, divided

  • 1/2 cup all-purpose flour

  • 4 cups Gruyere cheese, grated

  • 2 cups mild White Cheddar, grated

  • 1/2 teaspoon freshly ground black pepper

  • 1/2 teaspoon Old Bay Seasoning

  • 2 pounds cooked and chopped lobster meat

  • 1 cup seasoned herb breadcrumbs

processed_00000IMG_00000_BURST20200913173035487_COVER.jpg

Instructions:

STEP 1: Preheat oven to 375 degrees Fahrenheit.

STEP 2: Drizzle olive oil into a large pot of boiling salted (to taste) water. Add macaroni and cook according to the packaged instructions for 6 to 8 minutes, then drain well, and let cool.

STEP 3: Heat milk in a pot, then add 6 tablespoons of butter and flour, whisking slowly over low heat for about 2 minutes. Continue to whisk until the mixture thickens and is silky smooth.

Pro Tip: Do not boil the milk, you’ll want to keep it at low heat, not scorching it.

STEP 4: Remove the liquid mixture off the heat and add in both cheeses and seasonings, whisk together until smooth.

STEP 5: Add the cooked macaroni and lobster meat into the cheese mixture, and stir together.

STEP 6: Take 1 tablespoon of butter and coat 10-inch cast iron evenly, ensuring the pasta does not stick to the pan.

STEP 7: Slowly add the cheese, lobster, and lobster mixture into the cast iron.

STEP 8: Combine the remaining 1 tablespoon of butter and breadcrumbs and sprinkle on top of the macaroni. Bake for 30 to 35 minutes, until the sauce is bubbly, and the breadcrumbs and macaroni has a golden crust on top.

STEP 9: Serve and enjoy!

processed_00100dPORTRAIT_00100_BURST20200913173204318_COVER.jpg

XO, Analise

Recipe: Simple Arugula Salad

“The perfect dressing is essential to the perfect salad ...” - Julia Child

Salads are one my easiest and favorite quick dishes during the busy week to prepare. I easily make this salad about 4-5 times a week, with different variations. This dish is truly perfect by itself or a compliment to really any entree you choose.

I’m sharing my super simple Arugula Salad recipe, that is less than 5 steps, and will take you less than five minutes to make. You can always jazz it up with your favorite protein, like grilled chicken, smoked turkey, or pan seared shrimp, but it’s absolutely perfect as is.


20200907_0934040.42658661727752545 (1).png

What You’ll Need

  • 3 cups arugula

  • 1 diced roma tomato

  • 1/4 cup chopped red cabbage

  • 1/2 large lemon, juiced

  • 1/2 tablespoon extra virgin olive oil

  • a pinch of sea salt

  • a few shakes of cracked black pepper, oregano, and dried basil

  • feta or parmesan cheese (for garnish)

processed_00100dPORTRAIT_00100_BURST20200906174849588_COVER.jpg

Directions

STEP 1: Combine arugula, lemon juice, and olive oil in a bowl. Gently toss the arugula leaves so it is evenly coated in olive oil and lemon juice.

STEP 2: Sprinkle a little bit of salt, oregano, dried basil, and pepper on the arugula.

STEP 3: Dice tomatoes and shred red cabbage and place that on top of the arugula.

STEP 4: Last, garnish with feta or parmesan cheese.

Pro Tip: For a lovely addition top with avocado, shredded chicken or turkey, even pan seared shrimp would be lovely to add with this dish!

00100dPORTRAIT_00100_BURST20200906174843793_COVER.jpg

XO, Analise

Recipe: Crispy Fried Oysters

“Good food is good food. It doesn't have to come with pretense.” - Christina Tosi

Oysters are one of my favorite things to cook and enjoy. Fried oysters are something I truly love sharing with my family, and it’s always a treat when I’m able to prepare them.

This fried oyster recipe is super easy. It will pair perfectly with a light arugula salad dressed simply in olive oil and lemon juice, complimented with a glass of champagne, of course.

See the recipe below!


20200909_1122230.565088770183009.png

00000IMG_00000_BURST20200826172539657_COVER.jpg

What You’ll Need:

  • a dozen shucked oysters

  • 1 cup all purpose flour

  • 1/2 teaspoon lemon pepper seasoning

  • a few shakes of cracked black pepper

  • 1/2 teaspoon red pepper

  • a pinch of sea salt

  • canola oil


Directions:

00100dPORTRAIT_00100_BURST20200826172906327_COVER.jpg

STEP 1: Carefully rinse off your oysters under cool water. You’ll want to ensure you remove any shell particles.

Pro Tip: Ask your local seafood spot if they have a jar of oysters that are already shucked, if you are unable to safely shuck your own.

STEP 2: Combine your flour and all seasonings into a mixing bowl. Also, begin heating up your cooking vessel with canola oil, ideally you’ll want the temperature to reach 370 degrees fahrenheit.

STEP 3: Lightly toss oysters into the seasoned flour mixture, and ensure each piece is coated evenly.

STEP 4: Once the oil is hot, begin adding in each oyster. It’ll take about 6-8 minutes, for the oysters to cook.

Pro Tip: As soon as you notice your oysters getting golden brown, remove them from the vessel immediately.

STEP 5: After the oysters are finished cooking remove them from the fryer, and drain them on a stack of paper towels.

STEP 6: Finally, once the oysters have finished cooling, serve, and enjoy!

These oysters are perfect to throw on a po’boy, pair with a salad, or ideal as an appetizer to share!


XO, Analise

Spatchcock Smoked Chicken + Claret Pairing

“My favorite fall meal has to be a simple roasted chicken. There is just something about roasting your own chicken and vegetables that screams 'fall' and 'home' to me.” - Chrissy Teigen

The absolute best way to enjoy a whole chicken is to spatchcock it. What is spatchcock you ask, let me break it down for you (no pun intended).

The spatchcock (or butterflying) technique, drastically cuts the time it takes to smoke, roast, or grill a whole chicken. During this process you’ll remove a chicken's backbone so that it lays flat. This process is really fantastic. You’re able to evenly distribute seasonings all over the protein, and enjoy your bird at a much quicker rate than keeping it whole.


20200818_1049100.28170254419326923.png

00100dPORTRAIT_00100_BURST20200628164415891_COVER.jpg
00100dPORTRAIT_00100_BURST20200628164513186_COVER.jpg

Spatchcock Smoked Chicken

This spatchcock smoked chicken goes through a lengthy preparation process. A two-day wet brine, followed by a two-day dry brine, ensures that the flavor of this chicken goes all the way down to the bone. Our dry brine is a sweet, spicy, and herb seasoning blend that gives this chicken such a unique flavor. In total this chicken has a four-day seasoning process before hitting the smoker.

When smoking this chicken, the goal is to have a nice hearty flavor. A mixture of mesquite and hickory wood is used during the cook time. This gives the protein a nice smoke flavor while promoting all of the wonderful sweet, spicy, and herb notes that the chicken was marinated in.

00100dPORTRAIT_00100_BURST20200628164509279_COVER.jpg

Linden Vineyards, 2016 Claret

Linden Vineyards, 2016 Claret

2016 Claret

My recent trip to Linden Vineyards was a dream, and one of my absolute favorite wine trips during this pandemic. Their wines are simply lovely, but one of the standouts was their 2016 Claret.

This is a medium bodied red wine, and you’ll smell an abundance of raspberries, earth, and herbs on the nose. One of the descriptors Linden's winemaker used for this wine is 'sun kissed' - you most certainly can taste the ripe red fruit on this wine, giving it a well rounded body with subtle tannins.

This Claret is comprised of the following grapes:

  • 50% Cabernet Sauvignon

  • 25% Merlot

  • 14% Cabernet Franc

  • 11% Petit Verdot

The tannins on this wine are very soft, but present. Also, the acidity is almost refreshing, a compliment really to a smoked or roasted chicken. This pairing was really lovely, and the blend of four grapes were so balanced and a joy to drink.

I’d pair this wine with roasted or smoked chicken, braised lamb shanks, or grilled portobello mushrooms.


XO, Analise