
“I would never win an award for not loving pizza.” - Dwayne Johnson
Pizza is something my hubby and I really love. When G posed the idea of making our own pies from scratch, I fell in love with him all over again, LOL. Seriously, it was such a cool weekend activity for us. We created two completely different pizzas, that were both equally delicious.
Today, I’m sharing our homemade pizzas, what we chose for our toppings, and how surprisingly easy it all was!

The dough for our pizzas.
The dough is the most important part, and creates the foundation for your pizza. I suggest preparing your dough either the night before, or the morning of when you’re eating your delicious pizza.
Here is what you’ll need for the crust:
3 1/2 to 4 cups bread flour (plus more for rolling)
1 teaspoon sugar
1 envelope of instant dry yeast
2 teaspoons kosher salt
1 1/2 cups of hot water
2 tablespoons olive oil
Once you combine all of your ingredients in a mixer, oil a glass bowl, and put your dough into it. This will make your dough super easy to get out of the bowl after it rises. Then use saran wrap to cover your bowl tightly with.
With the dough recipe provided above, G and I were able to have enough dough for two personal sized pizzas - approximately 10 inches, which yielded 4 slices each. If you want to make one larger pizza pie, this recipe is perfect!
Pro Tip #1: Your dough should be sticky, and not clumpy or hard. If your mixture doesn't have a sticky texture to it, add additional hot water until it has a better consistency.
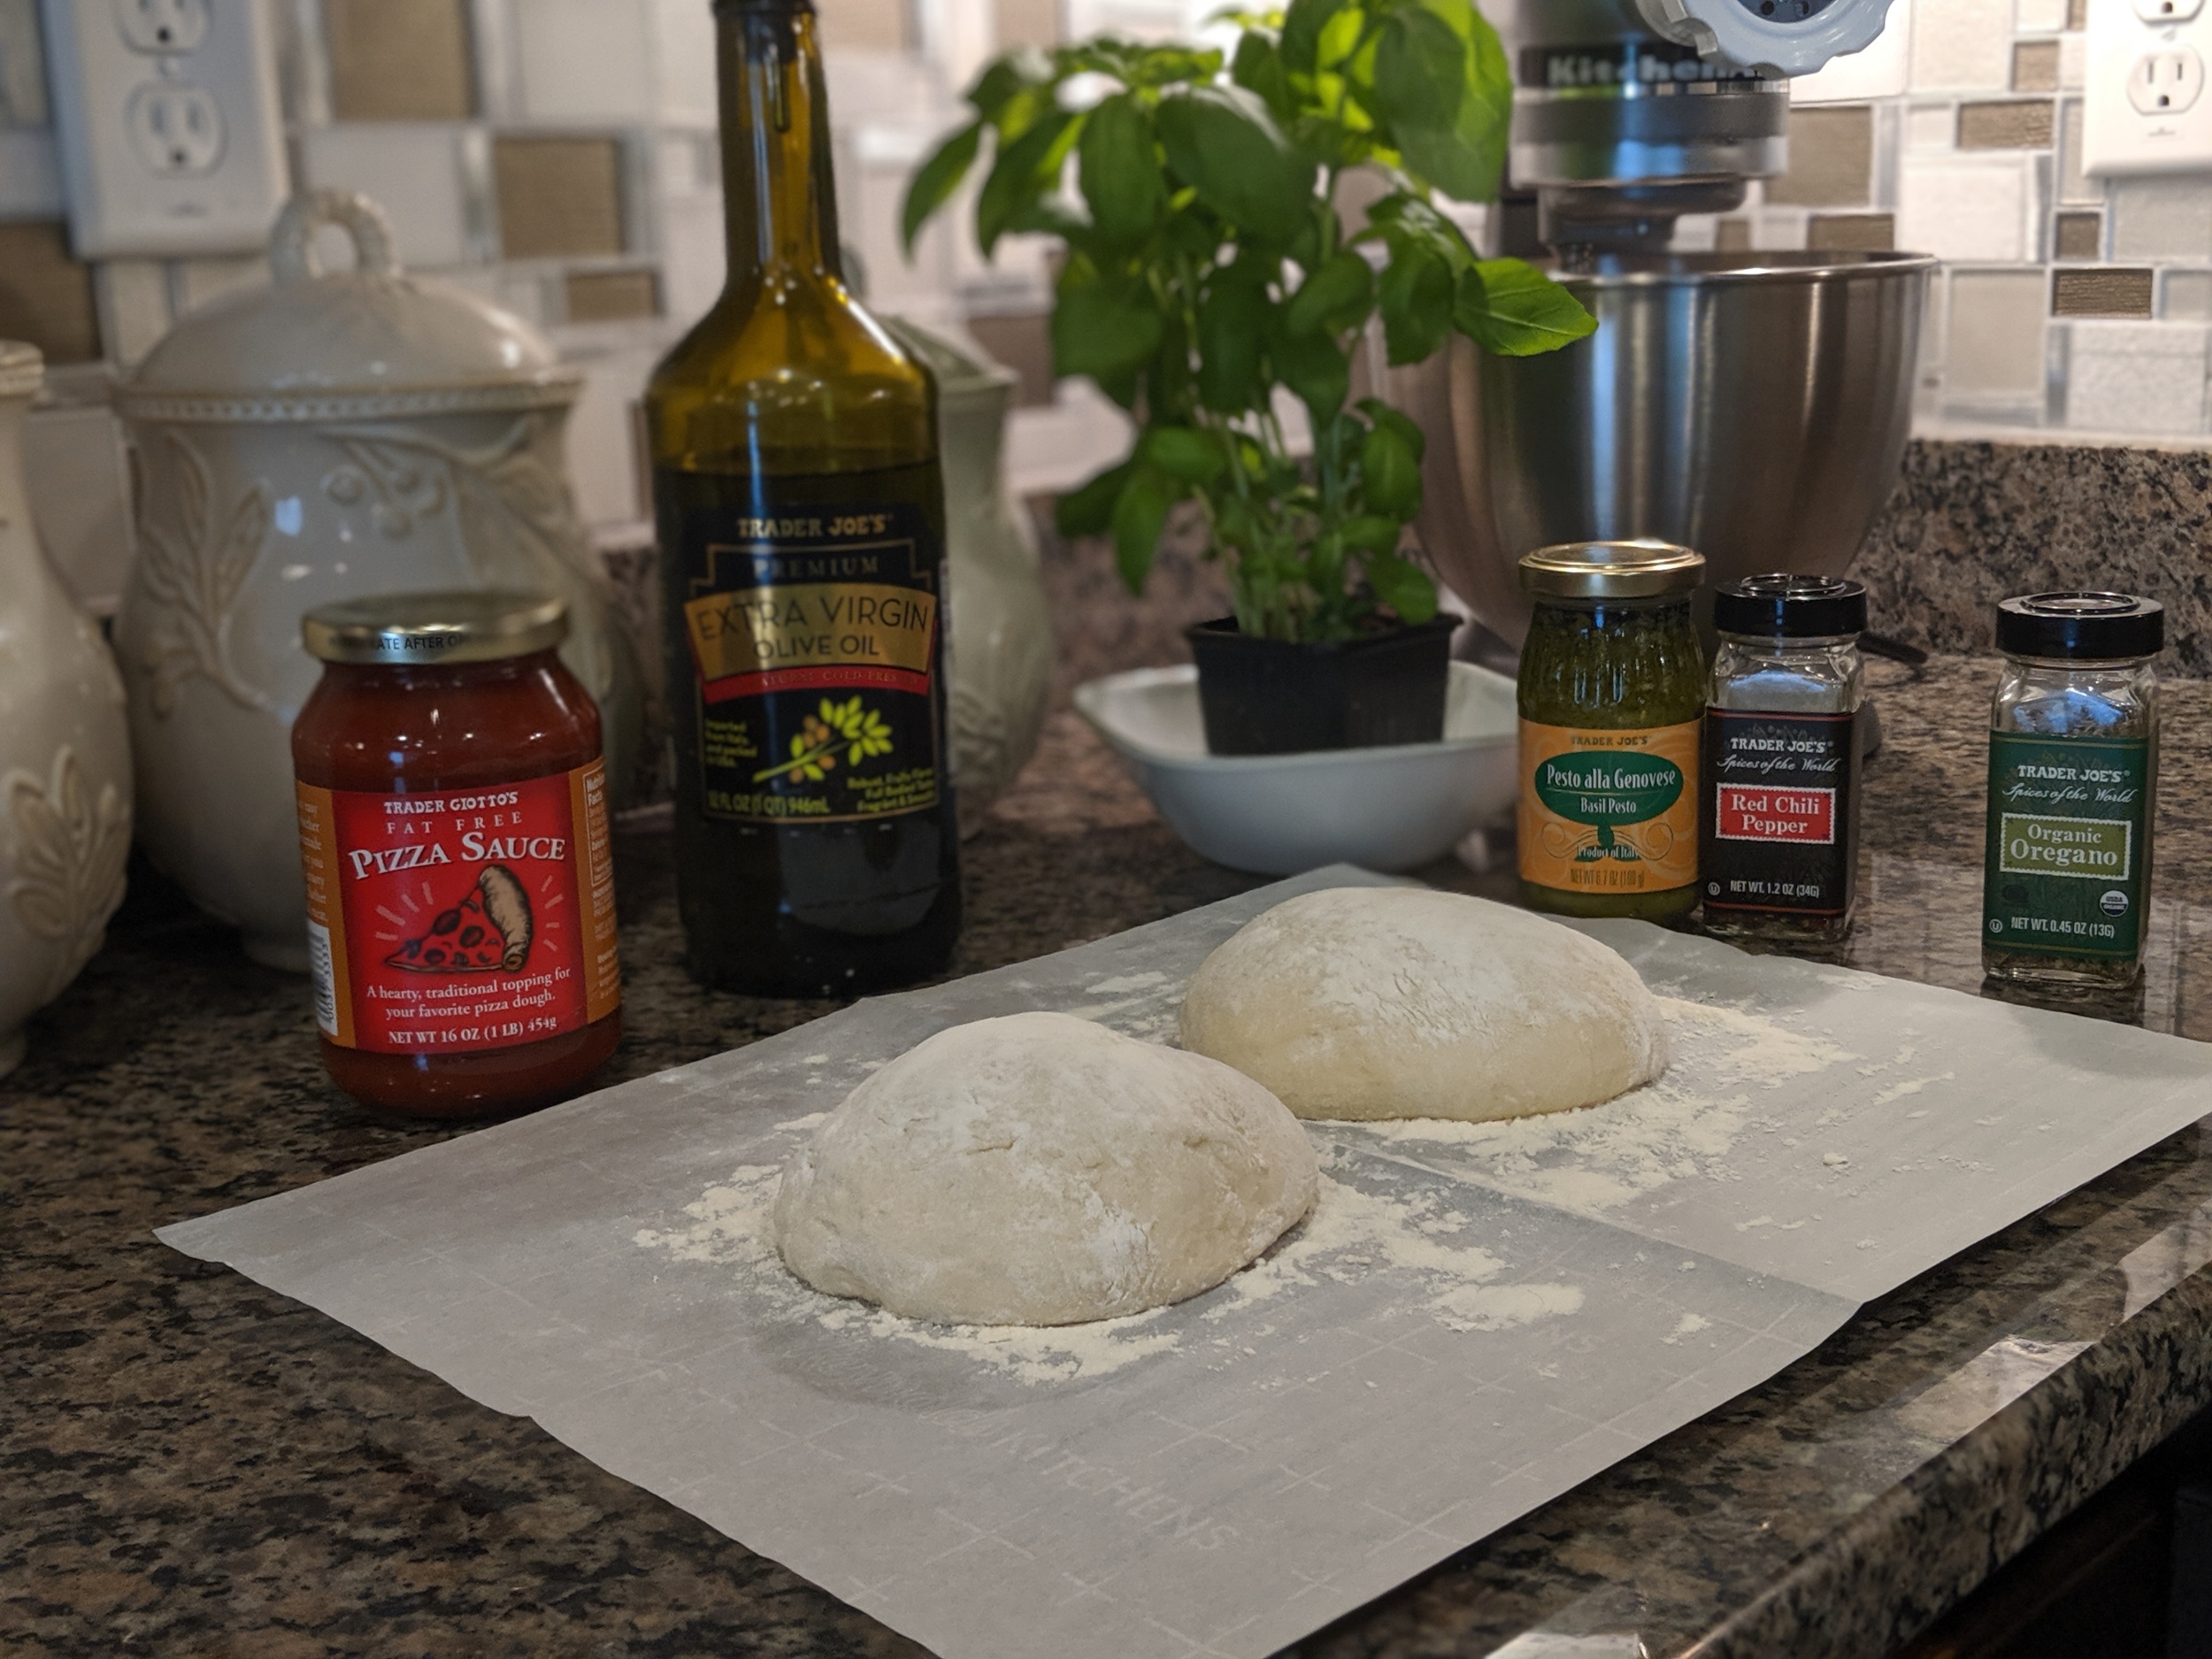
The dough and all of the ingredients we selected for our personal pizzas.

Basil pesto + fresh mozzarella

Pepperoni pizza + spicy marinara
Once the dough was ready to go, and formed into molds, we began preparing for our pizzas. We oiled our cast iron pans, and put them into the oven at 500 degrees. Next, G and I gathered our ingredients for our individual pizza, while the cast irons were getting nice and hot in the oven.
G opted for a traditional pepperoni pizza, with a new twist. He added red pepper flakes to his marinara, layered mozzarella cheese on top, and later drizzled honey along with fresh chopped basil on top.
My pizza was a bit more simple. I added fresh basil pesto onto my dough, added mozzarella cheese on top, and cracked black pepper.
Pro tip #2: Once your cast irons are super hot and ready to go, put your dough in first, then layer your preferred ingredients on top. This will give your dough a nice crunch and crust in the cast iron.
Pro tip #3: Use low moisture mozzarella cheese - this is super important! Most mozzarella is high in moisture, and that particular cheese can water log your dough.

The pizzas looking amazing in the 500 degree oven.

Spicy Pepperoni Pizza + Fresh Basil and Hot Honey

Basil Pesto Pizza + Fresh Basil, Oregano, and Black Pepper
Our pizzas turned out amazing! I always had the preconceived notion that making homemade pizza would be super complicated, but I was oh so wrong. We prepped everything well in advance, and gathered all of our ingredients ahead of time to make these delicious pies. G and I will now opt for making pizzas at home, and it’s such a fun date night activity for us - we can’t wait to do this again soon!
XO, Analise